Hello Friends, Welcome !!!...
Birthday's are suppose to be full of sunshine and rainbows
And love and laughter....
And off-course diamonds and roses are a girls best friend
Today and years after.....
And off-course diamonds and roses are a girls best friend
Today and years after.....

So today I'm here with a birthday card
Which is very close to my heart,
As it's for my childhood best friend,
Who has been their in my life from the start.
As it's for my childhood best friend,
Who has been their in my life from the start.
Hmmm !!!!
What's happening today....everything seems to by rhyming....
What's happening today....everything seems to by rhyming....
"Funny Mamma!!!" as my daughter will say...
Anyway.
Now a days I'm having fun combining different different techniques....
Now a days I'm having fun combining different different techniques....

I started this card by creating textured background. With Martha Stewart's punch,
I have cut strips of "Happy Birthday".

Then pasted those strips uniformly on card stock with all purpose white glue.
That created a non-ending textured background.
It was looking really nice.
It was looking really nice.
What say ?!!

But my need to add color has prompted me to try decoupage on top....
So here I go....

I took a beautiful big rose printed decoupage tissue.
Measured and cut out all the extra bits.
Removed the 2nd ply of tissue.


Applied Mod-Podge generously on my "Happy Birthday" textured background.

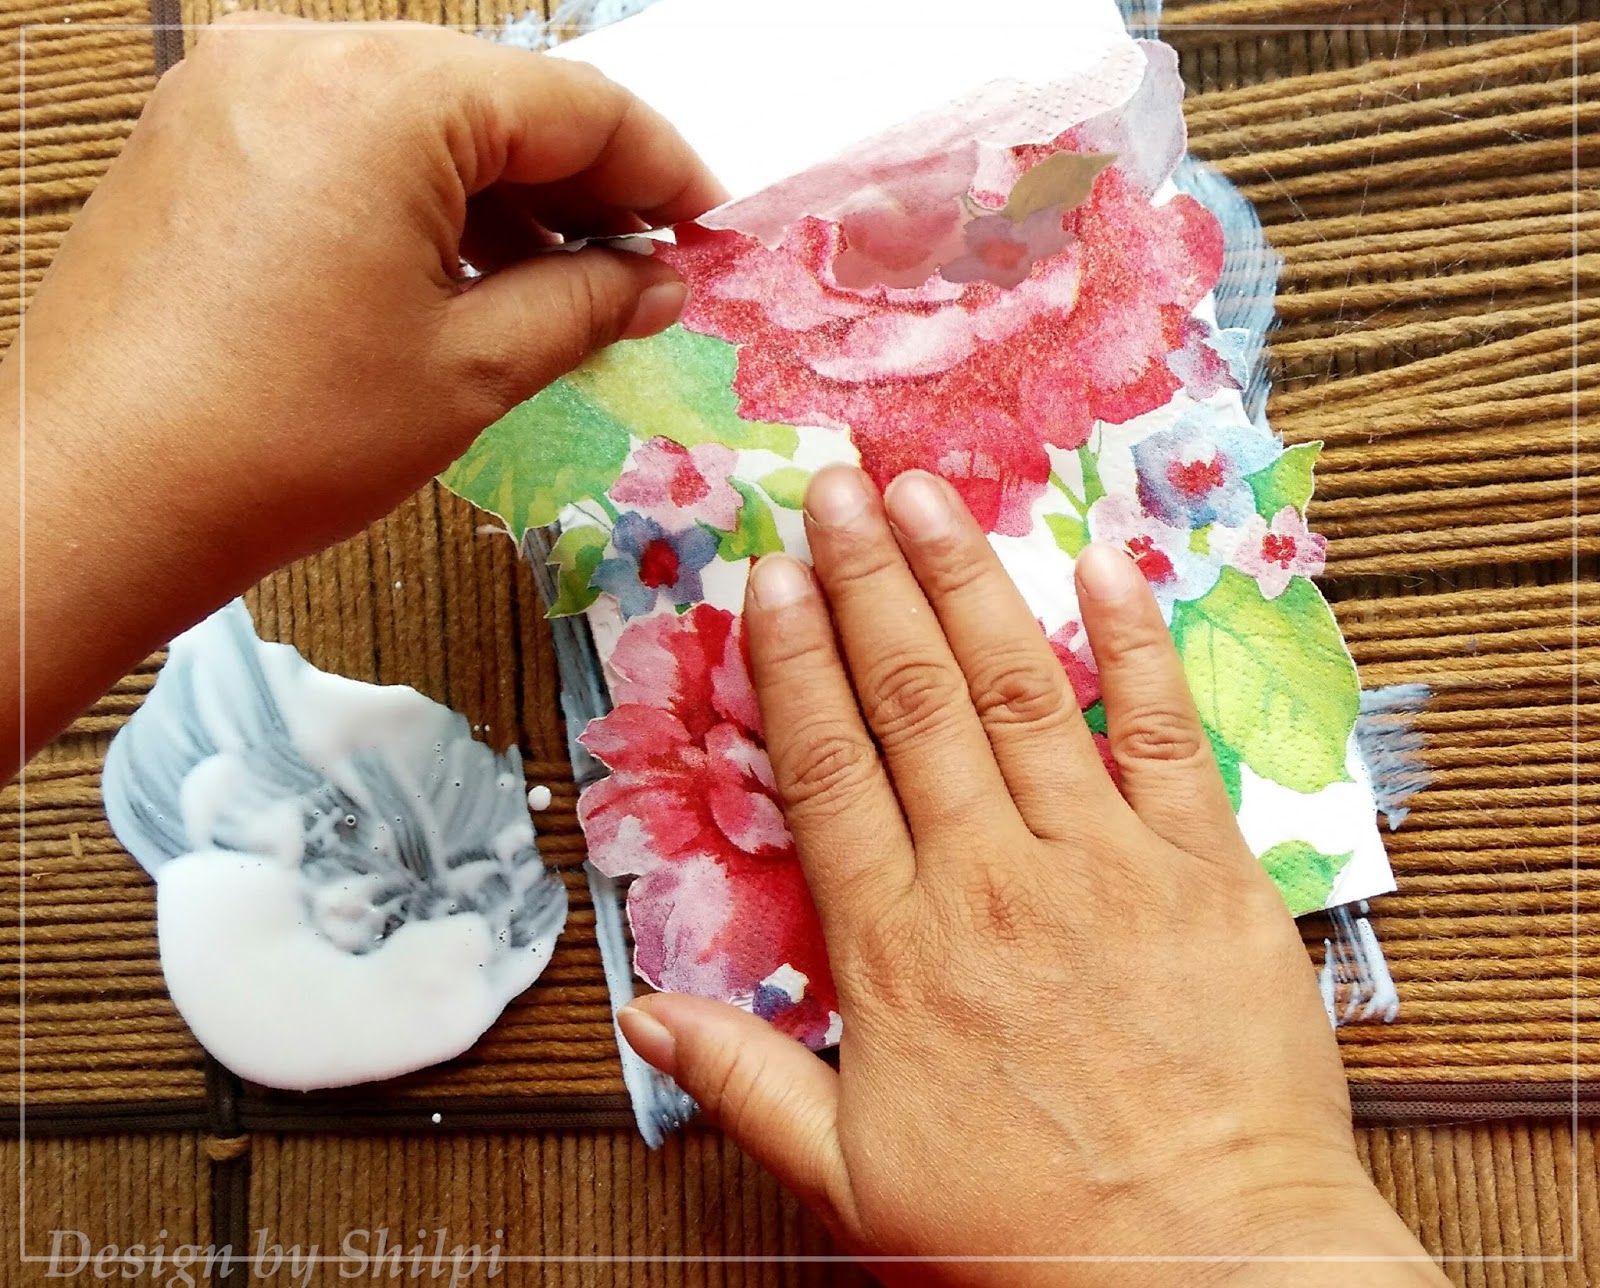
Pasted the tissue carefully, so there are no bubbles or unnecessary creases.


Applied another layer of Mod-Podge on top as well.

Pushing the brush in all the crevices and corners,
so the "Happy Birthday" texture is well defined for my next step.

This is how it was looking when it was fully dry....
Beautifully wrapped around all the alphabets.

Once everything was dry, I applied distress ink on raised texture to enhance it more....
Can You see it ??
I had used "Peeled Paint" on leaves and "Festive Berries" and "Abandon Coral" on Roses
It really was looking superb. But...
Alas !!!
It was no go. As Mod-Podge is a sealant it doesn't allow water based Distress ink to stay on top. So the moment my hand touched the inked texture I got stamped ;)
It was no go. As Mod-Podge is a sealant it doesn't allow water based Distress ink to stay on top. So the moment my hand touched the inked texture I got stamped ;)
Can you believe that.....
(Good for stamping from your own die-cuts, that's the experiments for next post ;) ) Anyway!! Either I should have used permanent stamping ink or I should have applied clear Gesso before inking it. Gesso would have helped distress ink to adhere properly. *New Learning* HmmmmI!


So I switched to Inka-Gold colors then.
Love the smooth thickness and rub-on quality of Inka-Golds.
Followed the same color pattern ratio as in printed tissue, in 1st layer of coloring.
Love the smooth thickness and rub-on quality of Inka-Golds.
Followed the same color pattern ratio as in printed tissue, in 1st layer of coloring.


In 2nd layer of coloring added a bit more of pink, as it was working as neutral enhancer.

Then in 3rd n final layer of coloring I used the complementary color
so the "Happy Birthday" texture pops-up nicely amidst the strong enough print.
Yaay!!! My textured background was ready.
so the "Happy Birthday" texture pops-up nicely amidst the strong enough print.
Yaay!!! My textured background was ready.

Next I stamped my Birthday sentiment on a small piece of card stock with archival black ink.
I really like this birthday sentiment stamp from Mudra stamps....You know WHY ??

Because this sentiment says "SPECIAL" in double lined font. And that gives me a chance not only to have my sentiment in strong solid black but also to fill in the color of my choice ,in my sentiment, to match my card..... Double Yaay !!!

P.S. I filled the SPECIAL with watered down Inka-Gold color itself.
That done, I assembled the card together.

I pasted the textured and decoupaged background on aqua card stock.
And pasted them on my card with double sided foam tape.
Adhered my sentiment tag on top with organza ribbon and double sided foam tape.
And lastly added cute little 3D paper roses and leaves to finish the card.
And pasted them on my card with double sided foam tape.
Adhered my sentiment tag on top with organza ribbon and double sided foam tape.
And lastly added cute little 3D paper roses and leaves to finish the card.
What say !!!
Linking this card to
MudraCraftStamps CHALLENGE #1 - ANYTHING GOES
Craft Stampers Take It Make It Challenge
Thanks for taking the time to stop by....
Do let me know how you guys like my card....
Cheers
Shilpi


