Tuesday, 18 February 2014

Fusion Card Challenge #4 - Butterflies !!!..

Thanks to some of my Creative friends,through whom I had come across The Fusion Card page on face book.... I saw the challenge and that too with butterflies was going on,I just couldn't stop my self from not being part of it.......

This has been mine first ever card making  challenge....and I'm kinda nervous....but the best part about this challenge is, that there are no restrictions about the materials or
 techniques to use....

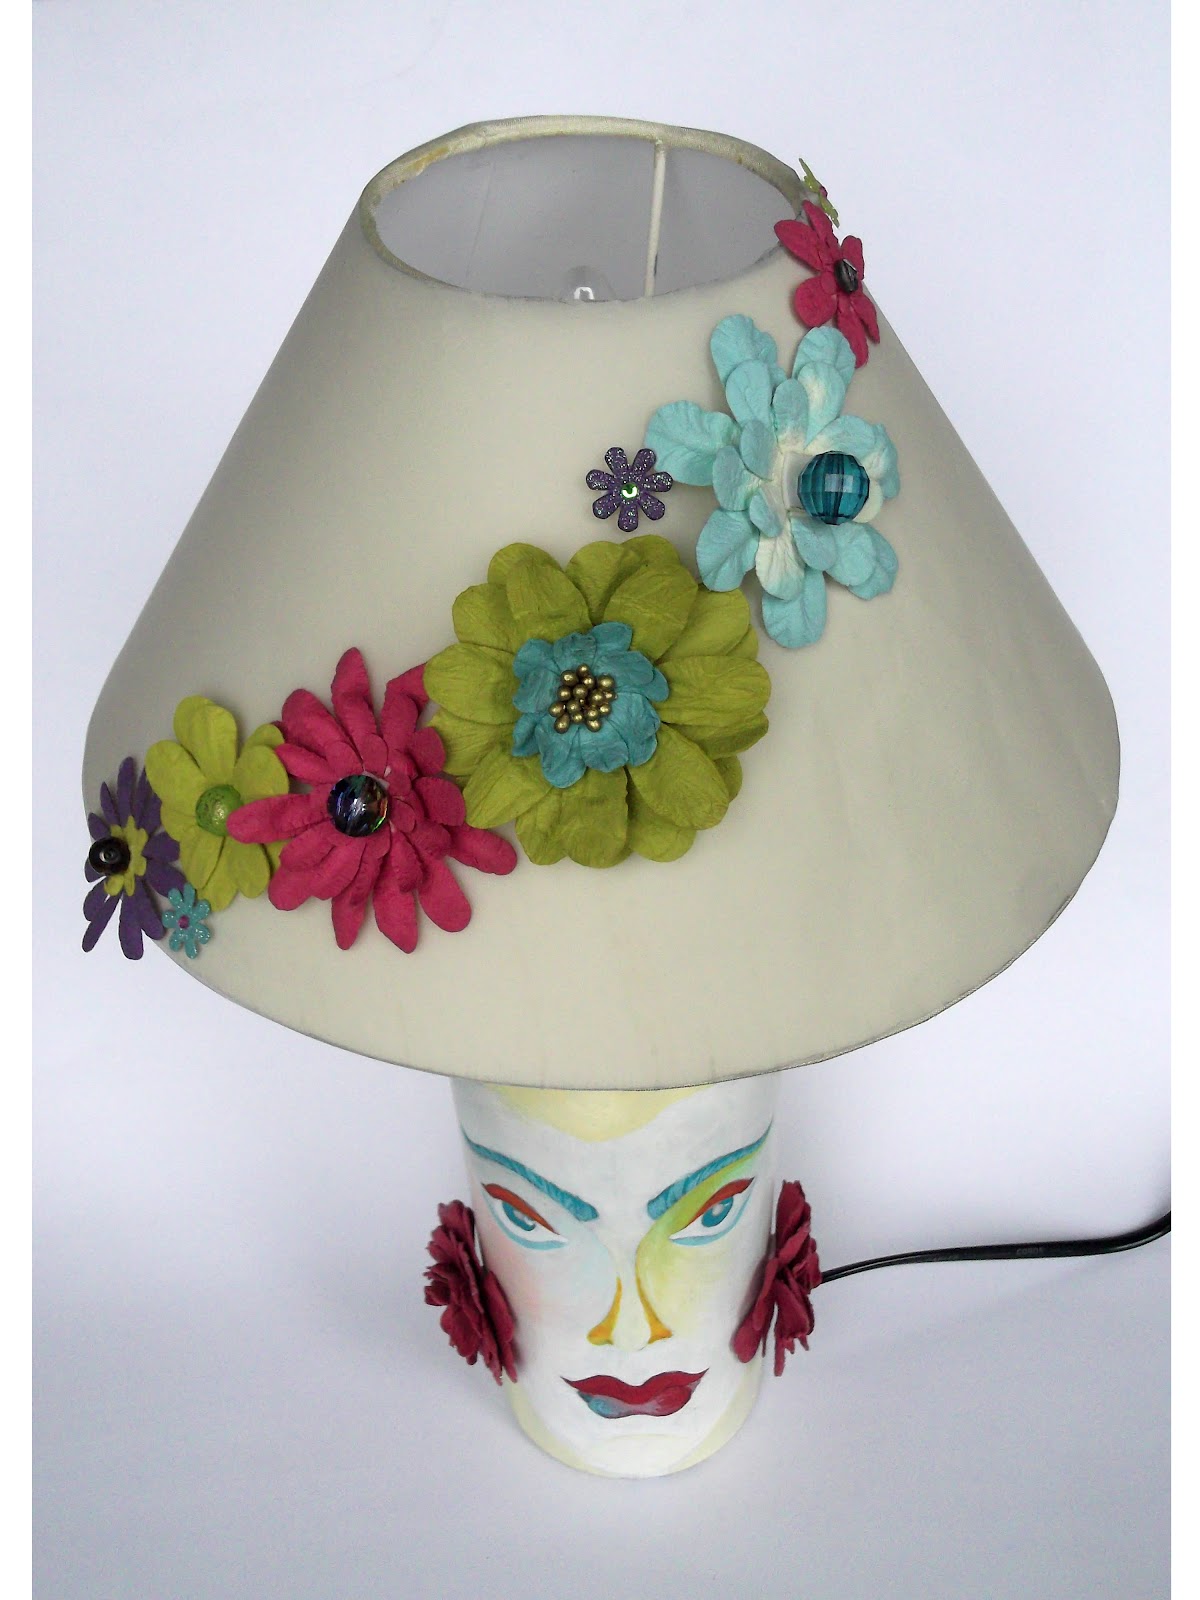
So instead of one I ended up making 3-4 of them...which will be posted separately so that I can link them to challenge as well....

Being greedy!!!...I know..


Another thing ...what I love about this challenge is that I get to play around with one of my all time favorite .....
 " BUTTERFLIES" r Flutterby's as I call them...........beautiful,colorful,dainty-darlings.

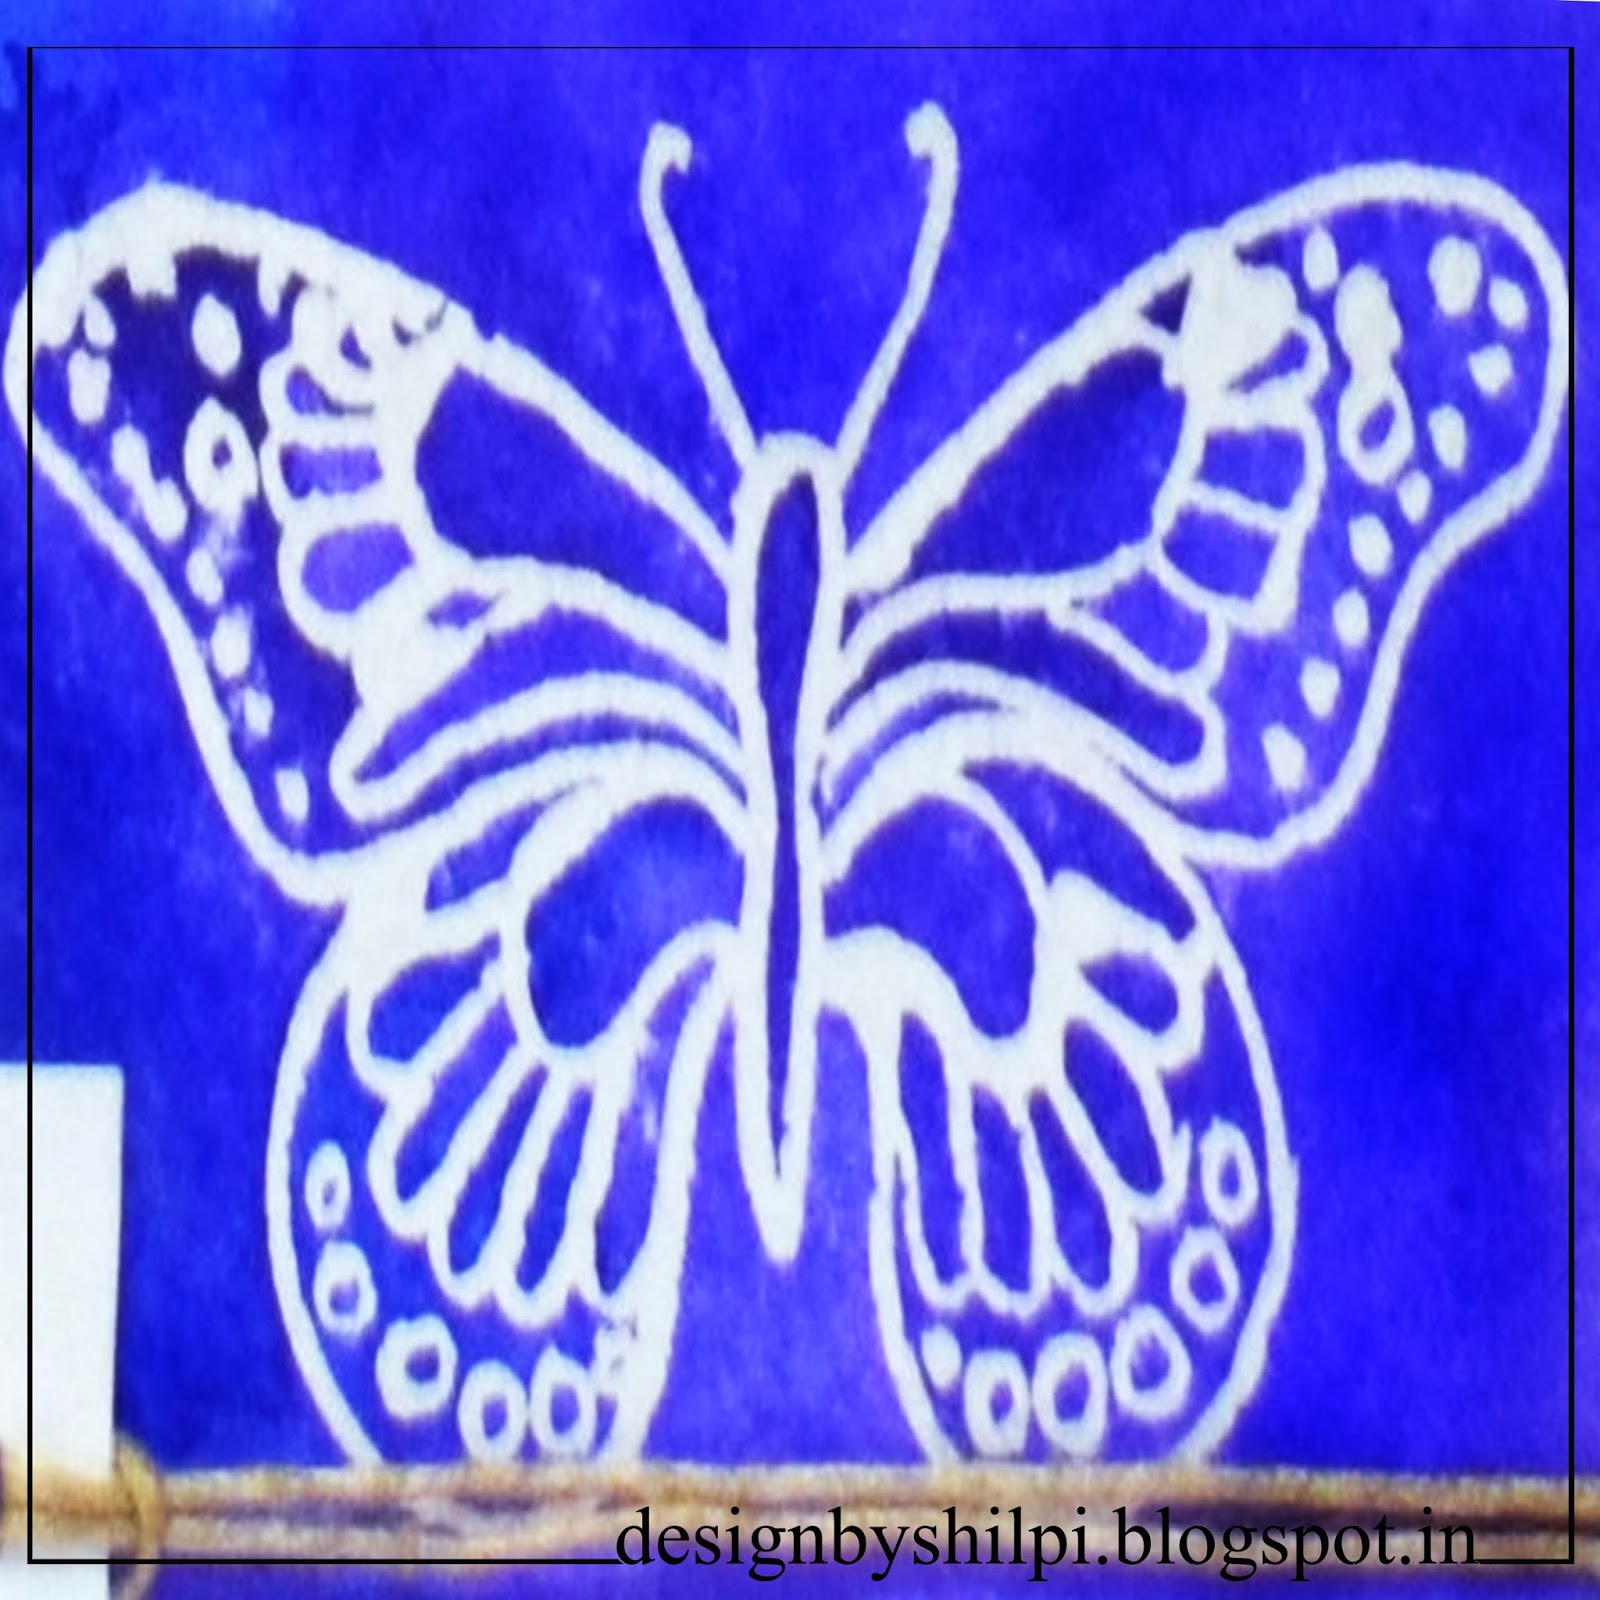
As it is shown in the picture of Fusion here....I could have either used just the sketch or the butterfly photo inspiration....Else I can complicate my life a little bit more and combine/FUSE both the ideas  together....And guess what,I took the tougher part.....

It really took me long to conceive an idea that was fun to be executed ....And the  visualization was an effort,....even my daughter enjoyed water coloring along with me....
I really wanted to do something different, so instead of using scrap-booking paper I made my own background paper...
...I drew the butterflies with masking fluid/masking gum on water color paper...
...once the masking gum was dry ,I splashed water on top....
....and then added my water colors in RAINBOW shades.....
.....dividing my paper into 2 parts by WARM and COOL colors.....
Love the way water color merges into each other.....
Once every thing is dry on paper ,then the Fun begins....
...peeling the masking gum from your paper....you just need to rub a little on a corner , and it will start coming off like threads ,when the dried masking fluid is out ,it leaves crisp and clear white out lines.


But the hanging butterfly in the circle is different....
here I did the 'wet on wet water coloring' first...then out line the butterfly by a permanent marker....

Combine two such butterflies together ,so I can add antennas and a fishing thread to hang the butterfly in the middle of the circle.....
I drew and colored the butterflies on one side and left the other side white, but out lined it with marker on both the sides....cut it with paper cutter and glued  the black and white side of the butterflies just in the center .....so that I can bend the wings a bit giving it 3D look.....

Last but not the least ,all handy work literally.................................................Not BAD!!!


Sunday, 13 October 2013

Votives for coming Festive season

Diwali literally means a "Row of Lights."

Stain glass bottle lamps


The Festival of Lights, Diwali, is a very bright,colorful and happy celebration.
We all do  prepare our homes months in advance for the special festivities that symbolizes the victory of spiritual goodness and the lifting of spiritual darkness.
Firecrackers are set off to drive away evil, n that's enjoyed by the kids and adults equally..........
Oil lamps(diyas) are lit, not only in front of "Lord Ganesha n Goddess Lakshmi" but all around the house......
Flower garlands are made, esp. from "Gende  kaa phool" Merigold flower nad mango leaves.....
Candles float in bowls of water outside homes and sweets are shared as part of the festivities.....


Stain glass n glitter VOTIVES

Diwali can also represent the awareness of inner light within a person when ignorance is pushed aside by understanding and enlightenment.

Gold n glitter VOTIVES


The Five Days Of Diwali
  • Day 1 – Dhanteras – Diwali is celebrated in five days and each day has its own significance, with one or other legend attached to it. The first day of Diwali is known as 'Dhanteras' or ''Dhan Trayodashi'. On this day, people offer prayers to goddess Lakshmi and buy silver utensils.The start of the financial year for most Indian businesses and is also the day of worship of the goddess of wealth, Lakshmi.
  • Day 2 – Naraka Chaturdasi – The second day of Diwali is known as 'Narak Chaturdashi', which is popularly known as 'Chhoti Diwali'. This is the day of cleansing. Oil baths are taken, people put on new clothes and food delicacies are prepared.
  • Day 3 – Diwali – The third day, which is the main day of Diwali, is also known by the name, 'Badi Diwali'. It is on this day that people perform pujas dedicated to Goddess Lakshmi for her blessings. The day of the new moon – Amavasya – and the official day of the Diwali holiday.
  • Day 4 – Kartika Shudda Padyami – On the fourth day of Diwali, people offer Govardhan Puja.The day recognised for when the tyrant, Bali, stepped out of hell and ruled the earth.
  • Day 5 – Bhai Dooj (Yama Dvitiya )-The fifth Day of Diwali is popularly known as 'Bhai Dooj'. This day is mainly celebrated to strengthen the brother-sister relationship.Along with "Rakhi" this day is the day when love is symbolised between brothers and sisters.

Golden stain glass VOTIVES

Although these days of celebration occur in many places, in north India, Diwali celebrates Rama’s homecoming and his coronation as king. In Gujarat, the festival honors Lakshmi, and in Bengal, Diwali is associated with the goddess, Kali.

Gold n stain glass VOTIVES


Regardless of the differences across the land, the exciting theme for all places is the renewal of life and the lifting of darkness, and it is a happy festival of lights.

Stain glass n glitter VOTIVES


'Festival of Lights'

Thursday, 10 October 2013

The Itsy Bitsy Pretty with P Challenge


Rewamp the old photo frame

Materials use

  1. Old photo frame
  2. Pattern paper (Recollection's Script Cream from Itsy-Bitsy)
  3. Big flowers n butterfly ( ItsyBitsy Boutique Elements )
  4. Small flowers ( Local craft shop)
  5. Florish  ( Little birdie-chipboard from Itsy Bitsy )
  6. Girl In gold  ( Little birdie-chipboard from Itsy Bitsy )
  7. Foil n size 
  8. Pearl pollens  n stones ( Local craft shop)
  9. Glitter ( ItsyBitsy Boutique Elements & Camel  Sparkle)
  10. Rainbow Ribbon ( Local shop)
  11. Glue
Challenges entered :
Itsy Bitsy -Pretty with P challenge ( My P's are Pattern Paper,Pearls,Posy of pink flowers)
Next one will be forMy handsome Golden Boy....
Stay tuned....


Monday, 1 October 2012

Glittery Paper Lanterns for the FESTIVALS 2....

Four sides of the same paper lantern

Day & Night

Colorful Paper Lanterns

I have been eying these colorful paper lanterns for DIWALI  for quite some time.....
And have been meaning to do some Arty-Crafty thing to it to add even more glamor
and glitter for the coming festive season....


Love the colors of the paper lanterns even the whites, especially the whites......
But i guess my need for all things not only colorful and artistic and off-course the "The ItsyBitsy BIG'B' Challenge" has inspired me to do more............ 
The rainbow that you can wish for is there....And the paper of the lantern is kite paper, very thin and matt, so one can actually play around with lot of contrasting colors and glitters.....
 

  Materials use

  1. Paper lanterns ( Local shop)
  2. Flowers ( ItsyBitsy Boutique Elements )
  3. Glitter ( ItsyBitsy Boutique Elements & Camel  Sparkle)
  4. Beads ( Simba Art&Fun Coll & Local shop )
  5. Rainbow Ribbon ( Local shop)
  6. Glue 
  7. Lamp fittings  ( Local shop)


I was so excited to see the lighted lanterns that  i went from the last step to the first.....                      
I did the lamp fittings, hanged the shades and then decided which floral combination will go where....
And as you can guess then came the free hand glitter doodling on the shades, actually it was more like doing Henna....the only difference was i was doing it with glitter tubes .......


  After doing one floral section i realize that my flowers are looking dull in comparison to all the glitter leaves and swirl, so i added glitter dust 
and rainbow and other beads to all the flowers too......and lastly added  ribbon to hang and beaded
 strings to give some weight to the shades,but they are not enough, i need to add some more strings with little more weight at the bottom still. May be with bigger ceramic or metal beads........


It was good fun creating it....
But this seems to be a crazy month.....the things that i have done earlier are still pending to be uploaded,and the one i have done at the end is already here, quite a bit like this project it-self.....

Anyway.....I hope you all enjoy seeing it as much as i enjoyed making it...very simple but hopefully apt for this Diwali....my kids are thrilled as i told them the next ones they can glitter too (hope fully not too much of damage ....so i can doodle on top of their doodles.....)
 
This goes to
 
Though i have submitted parts of it in yesterdays post before the time has run out.....but here is the detailed version of the same.....I'm so new at blogging that half the time i do some or the other blunder....still i m not so comfortable in placing and moving the pictures and text and adding other things.......
 
Guess what! I WON in their last to last Challenge "Floral Challenge" my first ever:) and i have yet not been able to grab the winner tag and place it on my blog.....Sob! Sob!....
 
Thanx for dropping in !


Sunday, 30 September 2012

Glittery Paper Larnten for the FESTIVALS..

 Here is another one for the challenge 

Friday, 3 August 2012

Lighted Floral CANVAS


A Floral Lighted CANVAS....


Colorful, Back lit CANVAS Art...DAY LIGHT
                                                                             
Feerie Florale by  www.valerie-boy.com   
I saw this on "Pinterest",some time ago and fell in LOVE with it.
This is an artist's piece made from metal that has hand cut flowers all over it. Its back lit by LED string lights ....Looks Awesome!!!...isn't it ?...    
I have been planning to do this one way or other, tried different medias,from tin of a soda can to layered foil to card stock ....everything......
Card stock worked the best for me till now.....
though i wish i had painted it off -white before cutting to match the color of canvas,or taken a different color paper....black ,light brown or offwhite...as i wanted to add multi color layered flowers on top to add color and bling....


www.thescrapshoppeblog.com/2012/05/backlit-canvas-art
 
   Then recently a saw Michele's version of the same   .....looks beautiful.....
Seeing her's and "itsy-bitsy flower challenge" gave me the push to move my lazy bum and start doing things i so very much love...lol...

Wanted to do this in so many different ways ...
1.with clean cut outs..
2.with clean and partial cuts...
3.with layering...

And ended up doing all of them in one canvas only,clean cut flowers under the color layered flowers so that their is more light peeping out from beneath.And partial cut leaves and scallops which i have pulled up slightly...looks nice if i may say so myself.....
I'm gonna do few more for sure,though should i keep the sizes same or differ them, i have yet to decide...Mine one is 12"/12" canvas...quite comfortable to handle when you are cutting the flowers and leaves,all the curves and circle are easy to make,as one can rotate the whole canvas for that perfect round centers for the flowers....I would love to do a really big one....lets see.....
       
Colorful, Back lit CANVAS Art...NIGHT LIGHT

Colorful, Back lit CANVAS Art...NIGHT LIGHT


Tuesday, 31 July 2012

RECYCLE Bottle Lamp - FLOWER Girl......

Upcycle glass bottles that's one of my favorite things to do,
and turn it into a lamp....AWESOME!.....
I have been trying to make lamps with bottles for almost a year now...
....inspired from Pinterest......
but it's not so easy to get many a stuff,especially lamp kits for bottle or jars....
Got a temporarily solution,lets see how it sustain....if this works then wonderful,
otherwise i'll have to request some friends coming from abroad to
bring some bottle lamp kits for me....


I had good fun doing this......though trying to match the colors of the flowers(from itsy-bitsy) to the painting of the face was little tricky......but still......
it's a good start for my faces on bottles....next one will be BLUE - GREEN,and the next will be shades of AQUA...my fav., ideas are already flowing need to put it on paper,before they really do fly off....