Even in my dreams I see Butterflies.....
For the first time in doodling I tried the reverse sketch technique with the help of stencil.....
Though I still wish that I could have given little more depth,so the butterflies stands out little more.....but still....Love the way it has turned out.
What say...
Now I am wondering how to proceed further....
Should I just frame it like this ??
Or
Use it as my cards background, and add colors with my 3D paper flowers...
Hmmmmm...
Anyway....
Let me first show you how I did this, then maybe you all can help me decide what to do more...
So here we go.....
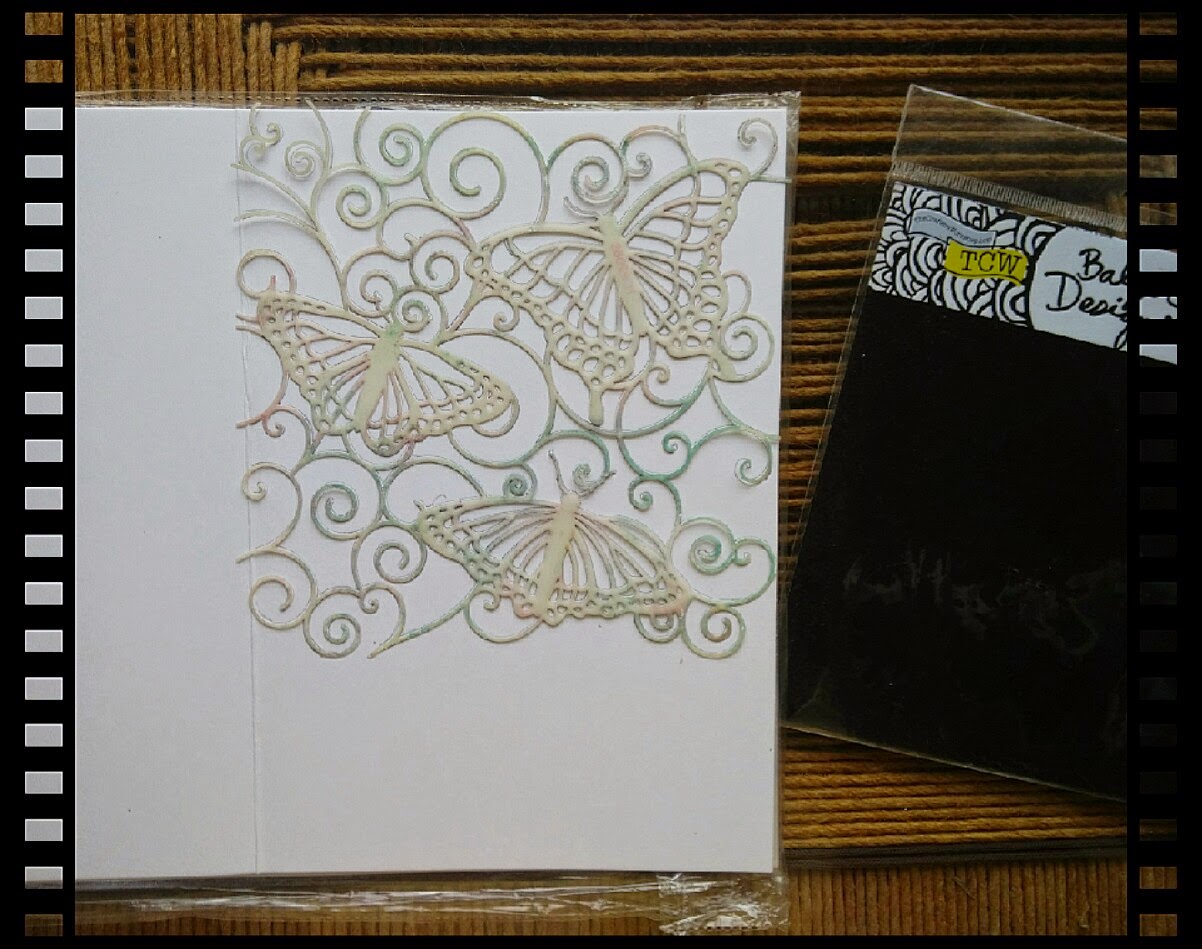
Though I love cutting my own stencils,but this one is of "Blazer Designs" from
TheCraftersWorkshop.com ( Internationally)
Try Crafterscorner.in (India)
or Thecraftshop.in ( India)
One of my absolute favorite stencil, curtsy of my good friend Nikki .... ;)
I placed the stencil on my card stock and simply traced the out lines with a very light pencil.
After tracing the stencil once I was left out with space at the bottom, so this time I placed the stencil little tilted and traced again, and again....and covered the whole of A5 size paper.....
(I had sharpened the image and increased the contrast so that it is shown very clearly here.)
This is my ready A5 size card stock, with beautiful butterflies traced on it.....
Now I'm ready to start my doodling.....
I have used 0.2 and 0.5 Rotring Isographs pen for this doodling, my absolute favorite....
And as I wanted to do the reverse sketching, I started with filling out the negative space in the butterflies, rather then the positive....
Once the butterflies were done, it was time for the background....
And there instead of just filling the background , I made my life complicated ;)
I added flowers as filler to give a look of another layer....
And Viola !!!!!!
My "flutterbies are ready to fly off.....
Especially for Cheryl B. Lemine.....
Hope you all like my work....
Please do leave me your valuable suggestions, especially about what to do....
I really do appreciate them...
Thanks....n stay tune to what I do with them further in my next post....


Omg! This is a stunning piece of work. So much effort and precision used here and the outcome is totally brilliant. Love it !
ReplyDeleteThank you so much Hussena.....
DeleteYour words means a lot..... Always ;)
Wonderful, brilliant, awesome ...
ReplyDeletestunning shilpi
ReplyDeleteSo so pretty!!!
ReplyDeleteउल्टी तरफ से स्केचिंग भी कर सकते हैं ये मैंने कभी सोचा भी न था |बहुत ही बढ़िया तकनीक |शेयार्रिंग के लिए बहुत धन्यवाद |मनीषा सक्सेना ,इलाहाबाद |
ReplyDeleteThank you so much Manisha.... ;)
Deletei
I'm happy that you liked it....
try it some time and don't forget to share with me too
This comment has been removed by a blog administrator.
ReplyDeleteNice Content
ReplyDeleteDie cutting machine
Paper cutting machine