Shaded Pink roses
Depicts
“Filial Love—the love of a child for a parent”
It fascinates me to know that different flowers are associated with different symbolism and are used for different purposes. That got me reading about flowers and selecting few to try my hands on making them.....
I started with Roses - Red roses were said to be the favorite flower of Venus, the ROMAN GODDESS of love and beauty. And you know what - it's one of the most ancient symbols of LOVE and Beauty. The flower itself depicts the color Pink or Red. And one of the meaning ascribed to the pink rose is “Filial Love—the love of a child for a parent”, Wow !!!!! I just love that, especially in the case of mother's day
So here is my simple way of making them....
As I don't have any die cutting equipments, I make my flowers in much more baser ways....
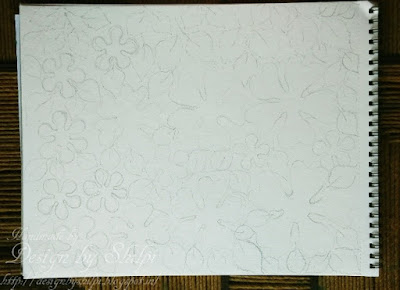
Step 1. Very lightly I drew, different sizes of the same 5 petal flowers on an A4 size, 210 gsm water color paper.
* Why watercolor paper ? - because for making flowers I'll be doing lots of shaping and molding in semi wet state of paper, along with water-coloring, Off-course. So I definitely need a paper which can withhold lot of fiber displacement, yet not give away. Another plus is it gives beautiful texture and good volume to the flowers. So - Why not ? ;-)
Step 2. Used "Worn lipstick distress ink pad" for water coloring my roses. And "Mowed lawn and Peeled paint distress ink pads" for water coloring my leaves.
* And the technique is pretty simple....
I applied my distress ink pads on an OHP sheet to transfer little color, and because it's an acrylic sheet it doesn't absorb the dyes. Now I simply picked up the colors with my Aqua brush and painted my roses. ( you can definitely use your craft mat instead of OHP sheet for this ;-) )
Step 3. Once dry I fussy cut all the petals and leaves separately.
Step 4. I colored the backside of the flower petals with watery color made with "Worn Lipstick Distress ink pad"
This time however I applied my distress ink pad, couple of more times on OHP sheet and then spritzed water 5-6 times rather then my usual 1-2 times for normal water-coloring....that's it....N in went the backside of my flowers in the watery pool.....
Step 5. Placed petals upside-down for the excess color to dry off.
Step 6. I shaped the flower petals with my fingers and stylus when they were still semi wet.
* Started with the smallest one.
This is the only petal, which I had to use other way round....
Step 7. Pasted a small thermocol (polystyrene) ball in the center of the petal.
* Then wrapped the petals around it, making sure they overlap each other. ( Works as a locking system as well....
Step 8. Then worked the 2nd, 3rd, 4th and 5th petal form back side with stylus, that loosens the fibers of the paper, makes it more malleable to shape them.
* Shaped the front of the petals diagonally on my stylus's handle.
*Pushed the center of each petals with the stylus or back of the brush....so the petals pop up.
Step 9. Pushed the center of the 2nd petal with my fingers to make it smaller and closer, and glued it to the first closed up petal.
Step 10. Did the same with rest 3 petals n glued them all.
* Re-shaped and adjusted the petals a bit to make it right, and my beautiful rose is ready to adorn my card.
What say !!!!
Hope I was able to explain it better with so many pictures and text.....
Do let me know, what you guys think about it. Your feedback means a lot.
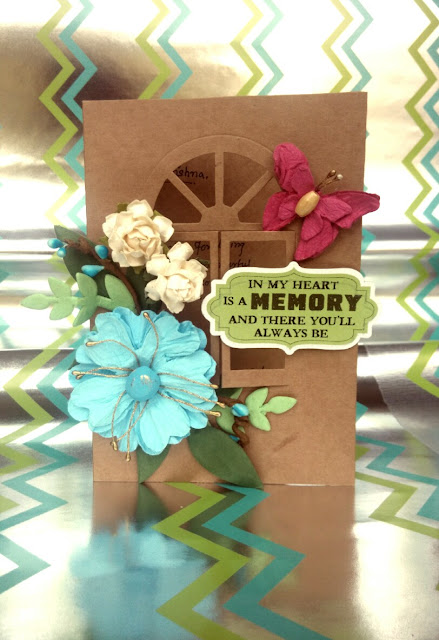
And Thanks a lot....do drop in again to see how I assemble my Mother's Day card along with this ROSE....
And Thanks a lot....do drop in again to see how I assemble my Mother's Day card along with this ROSE....


